
Why Push-Ups Matter
Push-ups are one of the most effective exercises you can do at home. They’re simple but incredibly challenging when you progress correctly. The thing is, most people jump straight to standard push-ups and get frustrated when they can’t do them properly. That’s where progression comes in.
We’re going to walk you through five distinct levels. Each one builds on the previous, so your body adapts gradually. You won’t be reinventing the wheel — these progressions have been tested with hundreds of people training in small Hong Kong apartments. No equipment needed. Just you, the floor, and consistency.

Level 1: Wall Push-Ups
This is where everyone starts, and there’s no shame in it. Wall push-ups teach your nervous system what the movement feels like without overwhelming your muscles. You’re learning the pattern first, building strength second.
Stand about 60-70 centimeters away from a wall, hands flat against it at shoulder height. Lower your body toward the wall by bending your elbows until your nose almost touches. Push back to the starting position. Do 3 sets of 12-15 reps, three times per week. Most people can do wall push-ups for 2-3 weeks before they’re ready to progress.
Pro tip: Keep your core tight throughout. It’s not just your arms working — your entire body’s engaged. If you feel any pain in your shoulders, stop and check your hand position.

Level 2: Incline Push-Ups
Now you’re adding gravity. Incline push-ups use a surface about 60-80 centimeters high — a sturdy desk, kitchen counter, or couch edge works perfectly. Your hands are elevated, your body’s at an angle, and you’re handling more weight than wall push-ups but not your full bodyweight yet.
Place your hands on the surface, arms extended. Lower your chest toward it, elbows at about a 45-degree angle to your body. Push back up. The lower the surface, the harder the exercise. Most people spend 3-4 weeks at this level, doing 3 sets of 10-12 reps three times weekly. You’ll notice your chest and shoulders start getting stronger pretty quickly here.

Important: This article is for informational and educational purposes. It’s not a substitute for personalized medical advice. If you have any shoulder, wrist, or chest pain, or if you have existing health conditions, consult with a healthcare professional or certified trainer before starting any new exercise program. Everyone’s body is different, and what works for one person might need modification for another.
Level 3: Knee Push-Ups
Knee push-ups are a bridge between inclines and full push-ups. You’re now supporting about 65-70% of your bodyweight instead of the full amount. This level teaches you to maintain a rigid body position — that’s the real skill here, not just arm strength.
Get on your knees on a yoga mat or cushion, hands flat on the floor below your shoulders. Your knees, hips, and shoulders should form a straight line. Lower your body until your chest nearly touches the ground, then push back up. Do 3 sets of 8-10 reps, three times per week. Stay at this level for 3-4 weeks. Your form matters more than the number of reps — a perfect knee push-up beats a sloppy full push-up every time.
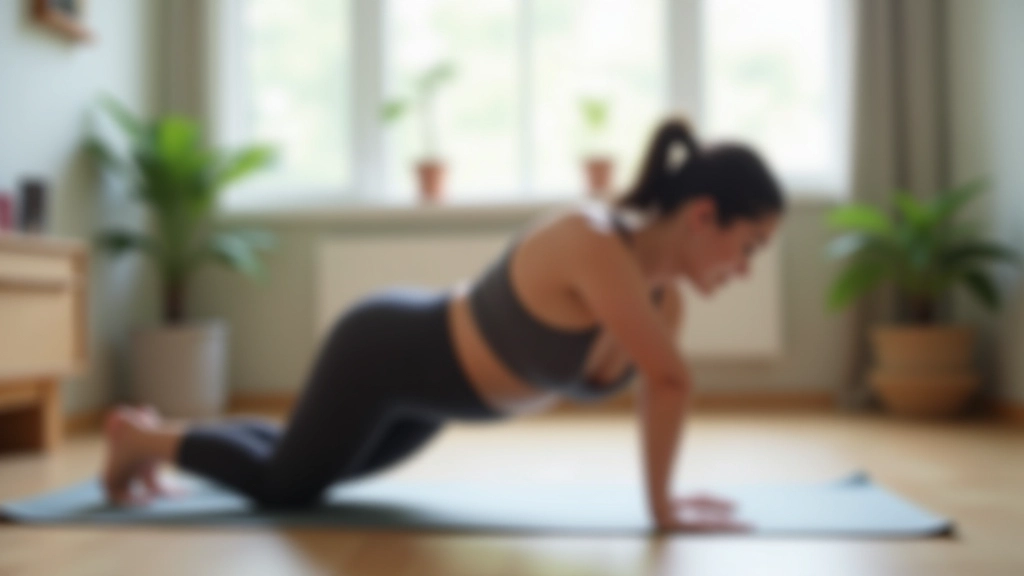

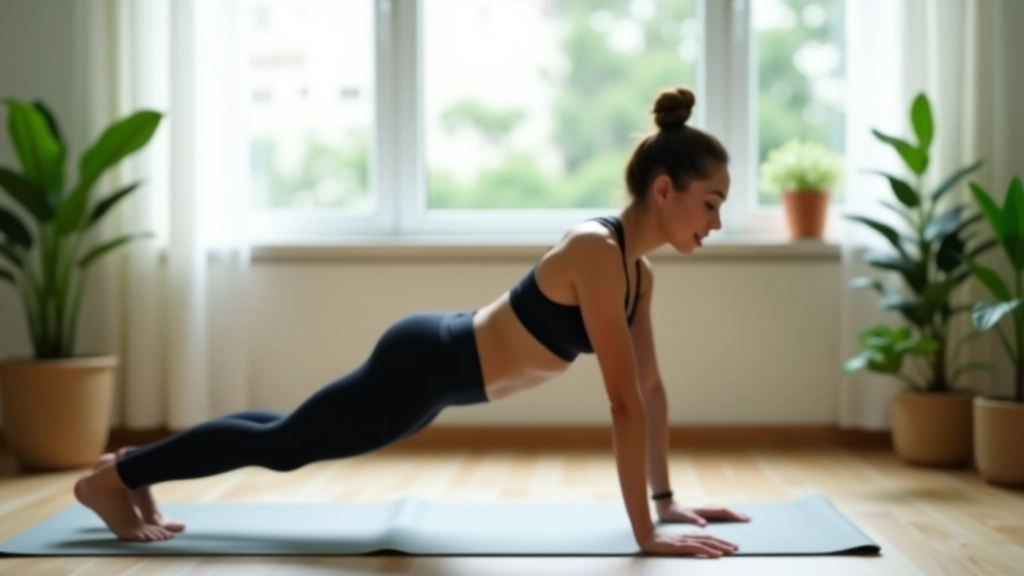

Level 4: Standard Push-Ups
You’ve made it. Standard push-ups mean you’re supporting your full bodyweight. This is where most people want to start, and now you understand why progression matters. Your body’s been preparing for this for 10-12 weeks, and it’s ready.
Hands under shoulders, body straight from head to heels, core engaged. Lower yourself until your chest nearly touches the ground — elbows should track back at roughly 45 degrees, not flaring out to 90 degrees. Push back to the top. If you can do 3 sets of 5-8 solid reps with perfect form, you’re good. Stay here for 4-6 weeks before progressing. Volume matters more than reps at this stage — you’re building strength, not chasing numbers.

Level 5: Advanced Variations
Once you can do 12-15 solid standard push-ups, you’re ready for advanced work. One-arm push-ups aren’t the only option — there are several ways to increase difficulty. Diamond push-ups, archer push-ups, deficit push-ups (hands on small elevation), and paused push-ups all add challenge in different ways.
For one-arm push-ups, start by doing archer variations — one hand does most of the work while the other provides minimal support. Gradually shift weight to one arm over several weeks. Don’t rush this. A proper one-arm push-up takes months of training to build. You’ll probably spend 8-12 weeks working toward it, and that’s normal. The progression system doesn’t stop here — once you master one-arm variations, you can add pauses, increase reps, or combine them with other movements.

The Real Progression Takes Time
Here’s what we’ve learned from training hundreds of people in Hong Kong apartments: the people who progress aren’t the ones who jump to advanced variations. They’re the ones who spend 2-3 weeks at each level, nail the form, and only move forward when they’re actually ready. That means being honest with yourself about whether your reps look clean or sloppy.
You’re looking at a 6-9 month journey from wall push-ups to solid standard push-ups, and potentially a year or more to reliable one-arm variations. That might sound long, but it means you’re building real strength that’ll stay with you. There’s no shortcut. And that’s what makes it worth doing.
Start where you are. Train three times per week. Progress when your form is solid, not when you’re tired of a level. And don’t compare your beginning to someone else’s middle. You’ve got this.